This website uses cookies so that we can provide you with the best user experience possible. Cookie information is stored in your browser and performs functions such as recognising you when you return to our website and helping our team to understand which sections of the website you find most interesting and useful.

Is This the Most Intricate Adult Coloring Book EVER? (Kerby Rosanes)
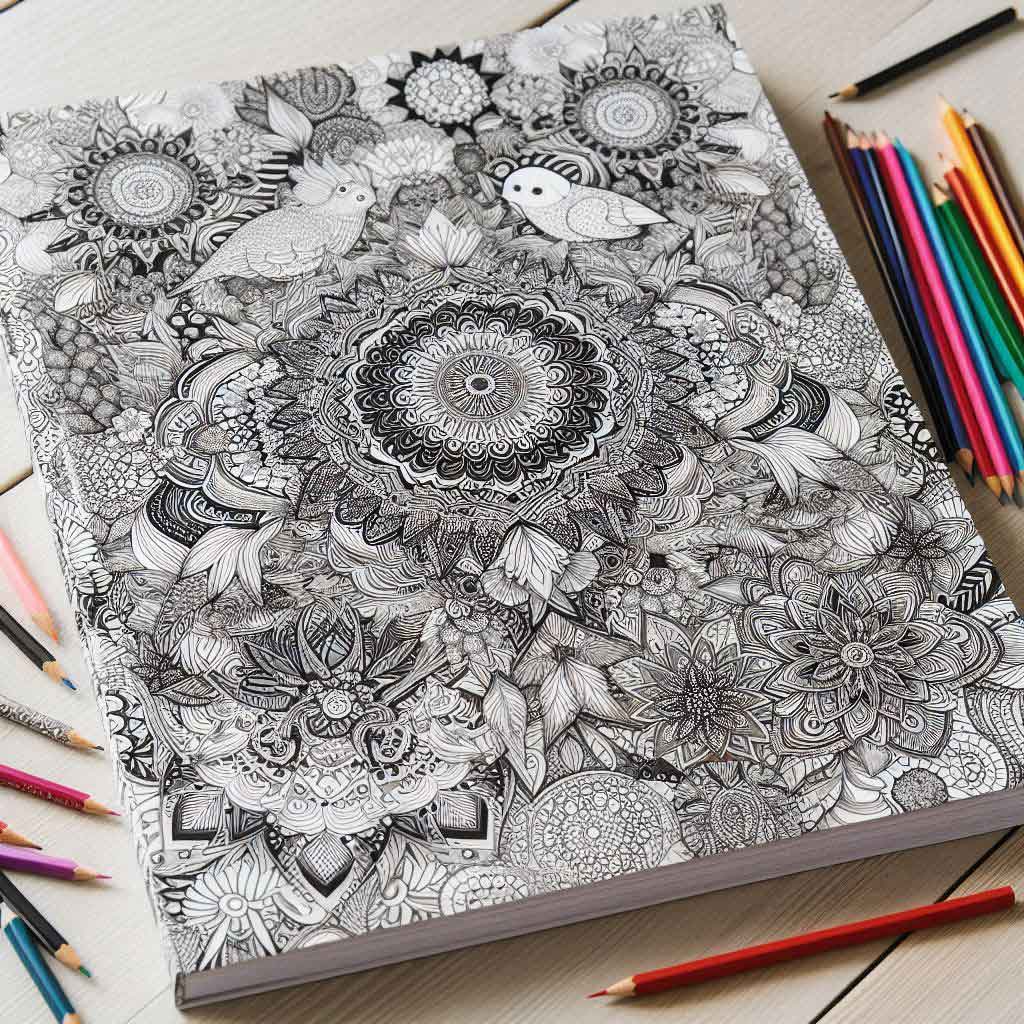
For a channel about adult coloring books, I’ve probably colored more kids books than adult books at this point, so it’s time I make that right. Introducing Kirby Rosanes! I’ve been following Kirby’s art for years and his books have been on my wish list since forever.
And yet I have never colored one. I have no excuses here. He has a range of amazingly intricate coloring books for adults that are stunning, even without color.
So today I’m coloring my first ever Kirby page and I’ve purchased his coloring book World Within Worlds that was released in 2020. And wow, these pages are so intricate, there’s so much happening in every scene and so many different ways you can color these.
Even with some of these familiar objects on each page. These crowns would be a great page to practice coloring gold, either a shiny gold or a really worn down, rustic look as well. These hanging glass planters are pretty cool. I can see a lot of potential with a page like this to color.
These fish are gorgeous, wow! It’s both of fish and an ocean of waves, and I love that you could just color one of these pages or you could color them both in the same style or you could do two completely different things here.
Choosing a Page to Color
Oh, and I love these boots! I’m tempted to color these today, maybe in a worn out, leather look or something. Each page has some hidden objects for you to find with all of the answers in the back. I’ve also used his answer pages as a swatch page to see which markers and pencils work on this paper without bleeding through.
As much as I love the boots, I’ve decided I’m actually going to color one of the fish today. This page feels exciting to me, and I love the movement of the waves and all of the fine details here. So I can’t wait to add some color.
Trying New Pencils
I wanted to try a different set of pencils today and I recently bought a set of the Derwent Chromaflow pencils to try. Funny enough, Derwent also reached out to me a few weeks ago and wanted to send me some pencils to try and guess what they sent? So now it’s definitely time to try these out, and I have an extra set to bless someone with at some point.
My first impressions from some basic swatching is that these pencils don’t lay down as much pigment as some of the other brands I regularly use, so they take a few extra layers. They blend really well. I was surprised at how effortless the blending really was.
Using Derwent Inktense Pencils
Since we’re already using Derwent, this feels like a great excuse to bring out my Derwent Inktense pencils again too. I haven’t really used these much at all, which is such a shame, because I loved using them when I first tried them on my channel 11 months ago. I can’t believe it’s been that long. This is definitely overdue.
I have used them once since, as a part of my 30 days of creativity daily challenges where I did a small coloring page using the Inktense pencils, but instead of activating them with water, I activated them with an alcohol marker and that’s exactly what I want to try again today.
Choosing Colors
Finally, I’ve got my Color Catalog Volume 2 to help me choose my colors for today’s page. With an intricate page like this, choosing my colors first can help take the pressure off and become a better starting point.
I’ve chosen Volume 2 because there’s an entire collection here of ocean life images that I think will be perfect for this. In fact, I think there are a few here that actually will really work. I really like the blues and the corals together, but I also really like the purple, so I printed my favorites and narrowed it down to these five.
Usually I try to work with just one or two palettes, but I’m finding it hard to choose a favorite from these today. There are some similarities. In fact, these two are very similar, so I can probably eliminate one of them to make this a little bit easier and remember.
The goal here isn’t to create a new restriction on myself down to just five colors. So I can use these as a starting point and even bring a few of these together to make my own new color scheme, but the more I can narrow this down the better it will probably look.
Color Palette Selection
I’m also somewhat limited by the range of pencils in my set because I don’t want to be doing too many layers or mixing of colors. So, let’s see what we’ve got here. All of these palettes have at least some kind of blue. So I think I’d like to include a dark and maybe a light blue in my range. I really like the purple and the coral, and I like the mix of cool and warm colors.
I even want to see if I can add a little bit of a warm yellow here just for some contrast. I think, looking at what I’ve chosen, these colors are mostly a combination of the palette number 278 and 279 here, and I’m pretty happy with this, even though I have ended up with quite a big spread of colors here.
I’ve printed off my Derwent Inktense color catalog companion for 278 and 279 to help me find the best matching pencils for these colors in my Inktense range. But these pencils are a little harder to match because the colors change a lot when they’re activated.
This is where it is definitely helpful to create yourself a swatch card like I’ve done here, because this becomes a really good reference for what the colors actually look like, and it is a much quicker way to find the right colors from your set, especially with water-based pencils.
Starting to Color
Okay, with my colors chosen, I’m finally ready to start coloring. I know a lot of people are intimidated by books with so much detail like Kirby Rosanes’ adult coloring books, but as I’m starting here, there’s a huge key I’m noticing right away that takes a lot of pressure off.
Kirby’s illustration style actually includes a lot of shading for you. All of these smaller black lines are a great indication of where the shadows are. So a great starting point and where I’m starting today is to grab your darker colors and start by coloring these areas first.
Add more pressure where his lines are the heaviest and fade up to lighter pressure where his lines get thinner and more spread apart. If you take this approach to all of his pages, you’ll find the shading is a lot easier than it first looks, and suddenly these pages aren’t intimidating at all. Just color a section at a time and follow the guides of his shading. It’s actually a lot easier than coloring big, empty spaces where you have to work out the light source for yourself.
I’m using a few different colors and switching between them, but doing all my shadows first. I’m choosing where to put my colors randomly, but I am kind of keeping the red and the blue separated with a purple in the middle as a general rule to help me create a better gradient when I go to fill them in with my lighter colors later.
I’m coloring fairly roughly at this point, because these Inktense pencils will change a lot when they are activated later. I don’t need to add too much pigment and I don’t need to fill every white gap, so this part of the coloring is actually quite fast.
Filling in the Colors
With my shadows done, I’m filling in the rest of the white now with my lighter colors. I’m using the light blue in the same waves where I shaded with my dark blue, the orange where I shaded with the red, and the light purple or pink where I shaded with the dark purple.
I’m layering these lightly over each other where they cross over as it will create a smooth gradient when we activate them. I’m mainly being careful not to overlap my yellow with my blue, because I don’t really want to add a green here, so I’m making sure they always go through the color wheel in the order that I want them to from the yellow to the red through to the purple through to the blue.
It’s time to activate the pencils, but not with water, we’re using the alcohol marker colorless blender. When I tried this in the past, I found the alcohol marker activated the colors in the same way that the water did, but it was so much more gentle on the paper.
Surprisingly, it didn’t really bleed through the paper at all. It didn’t warp the paper and look at the difference it makes to the colors. I haven’t compared these directly to using water to know if the final color is as vibrant, but I do love that it can be done either way. It’s possible this might also work with other pencil solvents, but that’s not something that I’ve tried.
I wouldn’t recommend doing this with the same marker you use with your other markers because the pencils do damage the marker more quickly than normal use. I’m using a spare marker because these come in almost every set that you buy and make sure that you clean your marker between colors by wiping it on some scrap piece of paper.
It does pick up a lot of color from the pencils, so here I’m wiping it between using the blue and the red more than anything else. Otherwise, you’ll end up with muddy colors or unexpected results when it mixes them together. Same for the blue and the yellow, because I really don’t want that green.
Adding Final Details
Now for the Chromaflow pencils, the Inktense provided a wonderful base layer and I could leave it here. But adding another layer of pencil on top allows me to brighten up any areas that need a boost and add more detail to the shading.
These pencils are going down really nicely on top of the Inktense pencils and the colors are great. I’m actually really happy with how this is turning out so far. I shouldn’t sound so surprised, but I have a tendency to really stuff things up at this point.
I’m going to go for a dark black with a slight blue glow. I really want our fish to be the focus here. I’m using the Inktense again, although I’m not sure how this will go with such a big section, because that’s what let me down last time. So we’ll just give it a go.
I’m using my mid to dark blues around my fish and trying to fade them into the black, but this is a little different to my usual gradient process because I’m using the Inktense instead of normal pencils. So I’m sort of making this up as I go and assuming it will work. Worst case, I’ll make some fixes later with the Chromaflow on top.
As I’m adding the alcohol marker, I’m not totally happy with this color and I think I’ve used the wrong black here. Inktense actually comes with a few different blacks and I would have been so much better choosing a black with a bit of a blue base to it.
But I didn’t, so even the areas where I’ve blended into a blue and layered the blue on top of the black have turned out muddy and almost a bit gray instead of a darker blue. But it’s not a total loss here. I just think if I could have a do-over I’d probably rethink this and choose a different black or a really dark blue instead. But overall, I’m still really happy with how this looks.
Final Touches
There are still a lot of little things to color here, but I can’t help but add some more details to our waves and finish these areas off with some accents. One of my favorite ways to add accents to a coloring page is with paint pens. I used to use gel pens, but since discovering paint pens, I’ve basically never gone back.
I was given this set of acrylic paint pens from Artistro almost a year ago now, and I don’t know for sure if this is the best out there, but because this set has had such a good little color range and the sizes are perfect, I’ve just ended up using them over and over since. I even bought myself a huge set of Posca pens, but didn’t realize it didn’t include this small size, so I’ve come back to these.
One day, I would love to do a comparison video, comparing all the different brands of paint pens, but for now I haven’t been disappointed with these, and the clear side makes it really easy to see just how much you need to shake the pen to mix the paint properly.
It makes me realize I probably never shake my other paint pens enough before using them. Today I found the colors that match my color palette and I’m using them to add some small dots along the highlights, the shadows and the edges of my waves.
I started with just a few dots, but then I got a little bit carried away. I’ve also grabbed the white pen to add some highlights. I’m using this over the top of some of the colored dots, but focusing specifically in areas that might catch the most light like the top edges of the waves or the areas where my colors are already the lightest. Again, I probably went overboard, but I’m having fun.
So, while I’m busy coloring this page, there’s one thing we don’t like to leave uncolored here – and that is your subscribe button. If you’re enjoying this video, please subscribe and turn on your notifications to see more coloring videos like this, along with other tutorials, art challenges, and creative fun with me. I so appreciate you for doing so and welcome you to my amazing community here.
Finishing Touches
With my page thoroughly dotted, it’s time to actually finish coloring. I have been thinking about how I want to approach these bubbles. There are a few different ways to draw bubbles to look super realistic, but there is so much already happening on this page that I’ve decided to keep them really simple. I’ve just colored them a little bit, so they aren’t completely white. Then I’m using my white paint pen to add a few highlights on each bubble.
Now for the fish itself, with the majority of this page being our cool colors so far, I wanted to use the warmer colors in our fish to add some contrast. So I’m going to use the yellow and blend it into the reds and pinks around the edges to create a little bit of depth.
Yes, I know I’m being really rough here, but it’s okay. Remember, these are Inktense pencils, as long as you don’t press too hard, or these lines might show up even after you activate them. I’m also adding a little bit of purple around the very edges where it will have the most shading. And again, look at what a difference the alcohol marker makes when it activates the Inktense pencils. This is actually a really fun process, which makes me think I need to get into watercolors more this year.
Other than the Inktense pencils, I don’t think I actually own any other watercolor pencils. So let me know if that’s something you would like to see me try. I’m using the Chromaflow again on top and I’m coloring a few scales in different colors to add a bit of variety.
So I a little bit of yellow around the edges and a little bit of red back in the middle, but I am trying to keep that subtle. Really, the only thing left now is to color all these other little surfers, this random rabbit, and these dolphins. I could bring in more colors here, but I like that these little parts almost blended in and disappeared in the original line work.
You didn’t even see them when you first look at this picture, so I’d also like to blend them in somewhat in the final page as well. So I’m going to use the same colors that I’ve already been using and just mix and match with their clothing and their surfboards. I’ve added colors for their skin, but have still brought in the blue for some shadings that they blend into the overall scene.
Conclusion
And with that, we’re done. I am really happy with how this turned out. I’d love to hear what you think in the comments, and if you were surprised by the Inktense pencils and how they were activated with the alcohol markers. The Inktense definitely sped up the process of this page.
This whole page took about five and a half hours from start to finish, whereas my normal coloring pages sometimes take between 8 to 15 hours. And for a coloring page that felt like it would be a huge challenge and was intimidating before I started, this ended up being easier to color and is probably one of the most relaxing pages that I’ve ever done.
Choosing my colors beforehand and just doing a section at a time using the line work as a guide for the shading – this all made the process much easier and I didn’t feel that I came across any major challenges which is unusual for me. So if you’ve got one of Kirby’s books on your shelf and maybe you’ve been scared to start, I challenge you to pull it out and give it a go.
It might not be as scary as you first thought, and his detailed illustrations mean the end results are almost guaranteed to look good.
